What you need
- A Windows PC
Windows 10 or 11. It stays on during the evening, with Lumières open: the PC is always the one talking to the lights, even when you control them from the phone.
- A USB-DMX interface
It links the PC to the lights. Lumières speaks the “DMX USB Pro” language of interfaces with an FTDI chip; the interface used with it is the Eurolite USB-DMX512-PRO. Nothing to install: Windows recognizes it on its own.
- DMX lights
Spotlights that have a “DMX IN” socket and a “DMX OUT” socket, with their cables.
- An Android phone, if you like
Android 10 or later, for the remote control. It is optional.
Another interface that speaks the “DMX USB Pro” language should work, but only the Eurolite USB-DMX512-PRO has been tested with Lumières. Ask GS Informatique first.
DMX in two minutes
Three ideas are enough. Lumières takes care of the rest.
The lights are chained
The cable runs from the interface to the first light (“DMX IN”), then from its “DMX OUT” socket to the next one. Every light hears everything; each one only listens to what concerns it.
Each light has an address
The interface sends 512 settings at once: the channels. An 8-channel light at address 1 takes channels 1 to 8; the next one can start at 9. The address is set on the light; Lumières suggests the first available one.
Each light has its profile
The profile says what each of its channels does: intensity, red, green… Lumières includes thirteen, and you create one for a light that isn’t there.
Many lights have several modes (for example 4, 7 or 8 channels), set on the light. The profile chosen in Lumières must have the same number of channels as the mode set on the light.
Connecting
- The interface on the PCPlug it into a USB port. Lumières finds it and picks it up on its own, even if it is plugged in later.
- The lights behind the interfaceFrom the interface to the first light, then from light to light.
- A terminator at the end of the chainA DMX terminator (a 120 Ω resistor) on the “DMX OUT” socket of the last light stops lights from blinking on their own.
- One program at a timeOnly one program can use the interface. Close any other lighting software.
The interface status is always shown at the top of the screen:
| What it says | What it means |
|---|---|
| DMX interface connected | Green indicator: everything is being sent to the lights. |
| DMX interface not connected | Nothing is being sent to the lights. Check the USB plug. |
| Interface in use | Another lighting program is holding the interface: close it. The full message appears when you hover over it, and in Settings, DMX interface. |
The first launch
Lumières always starts with the room dark. The first time, it doesn’t know any lights yet: its welcome screen tells you what to do, in order.
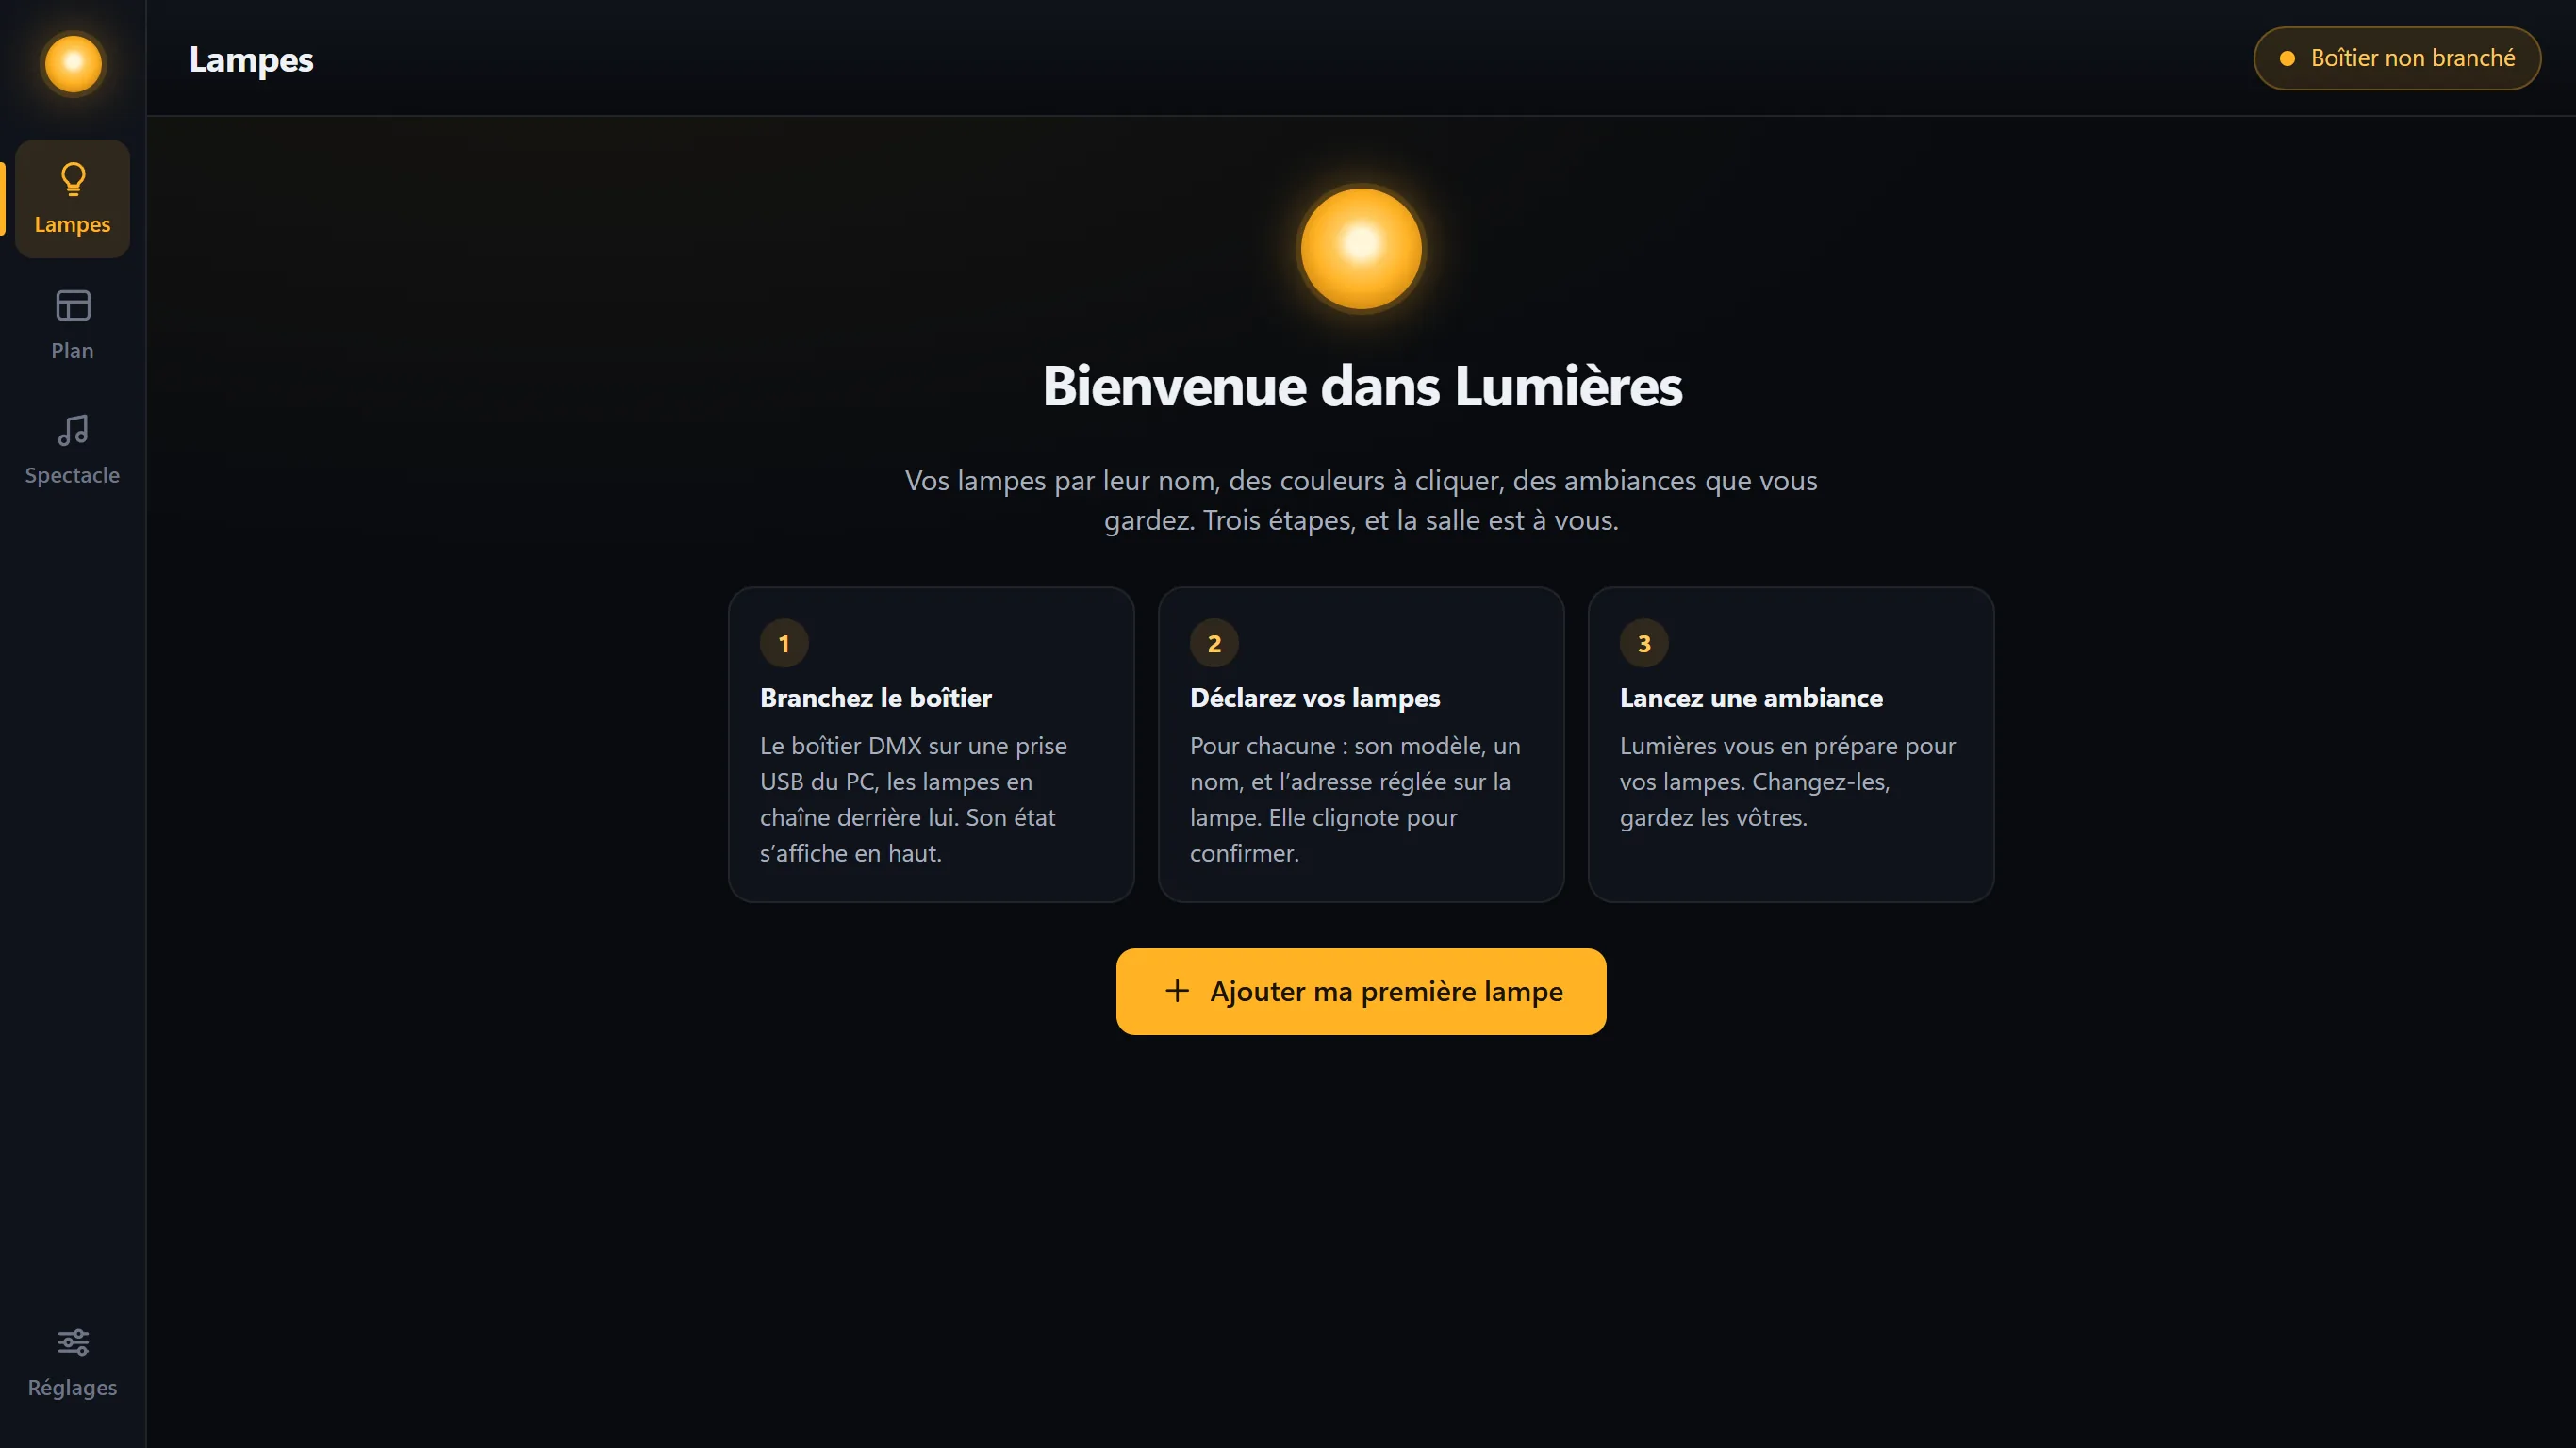
On first launch, Windows asks you to allow Lumières through its firewall. Accept: this is what lets the phone find the PC.
Adding a light
A light is added in three steps: its model, its name and address, then the test. Repeat for each light.
- Start adding a light Click Add my first light (later on: the Add a light card, on the Lights screen).
-
Choose its model
Choose the profile that has the same channels, in the same order, as your light: it’s written in its manual, on the “DMX” page. Search helps: “PAR”, “moving head”, “7 channels”…
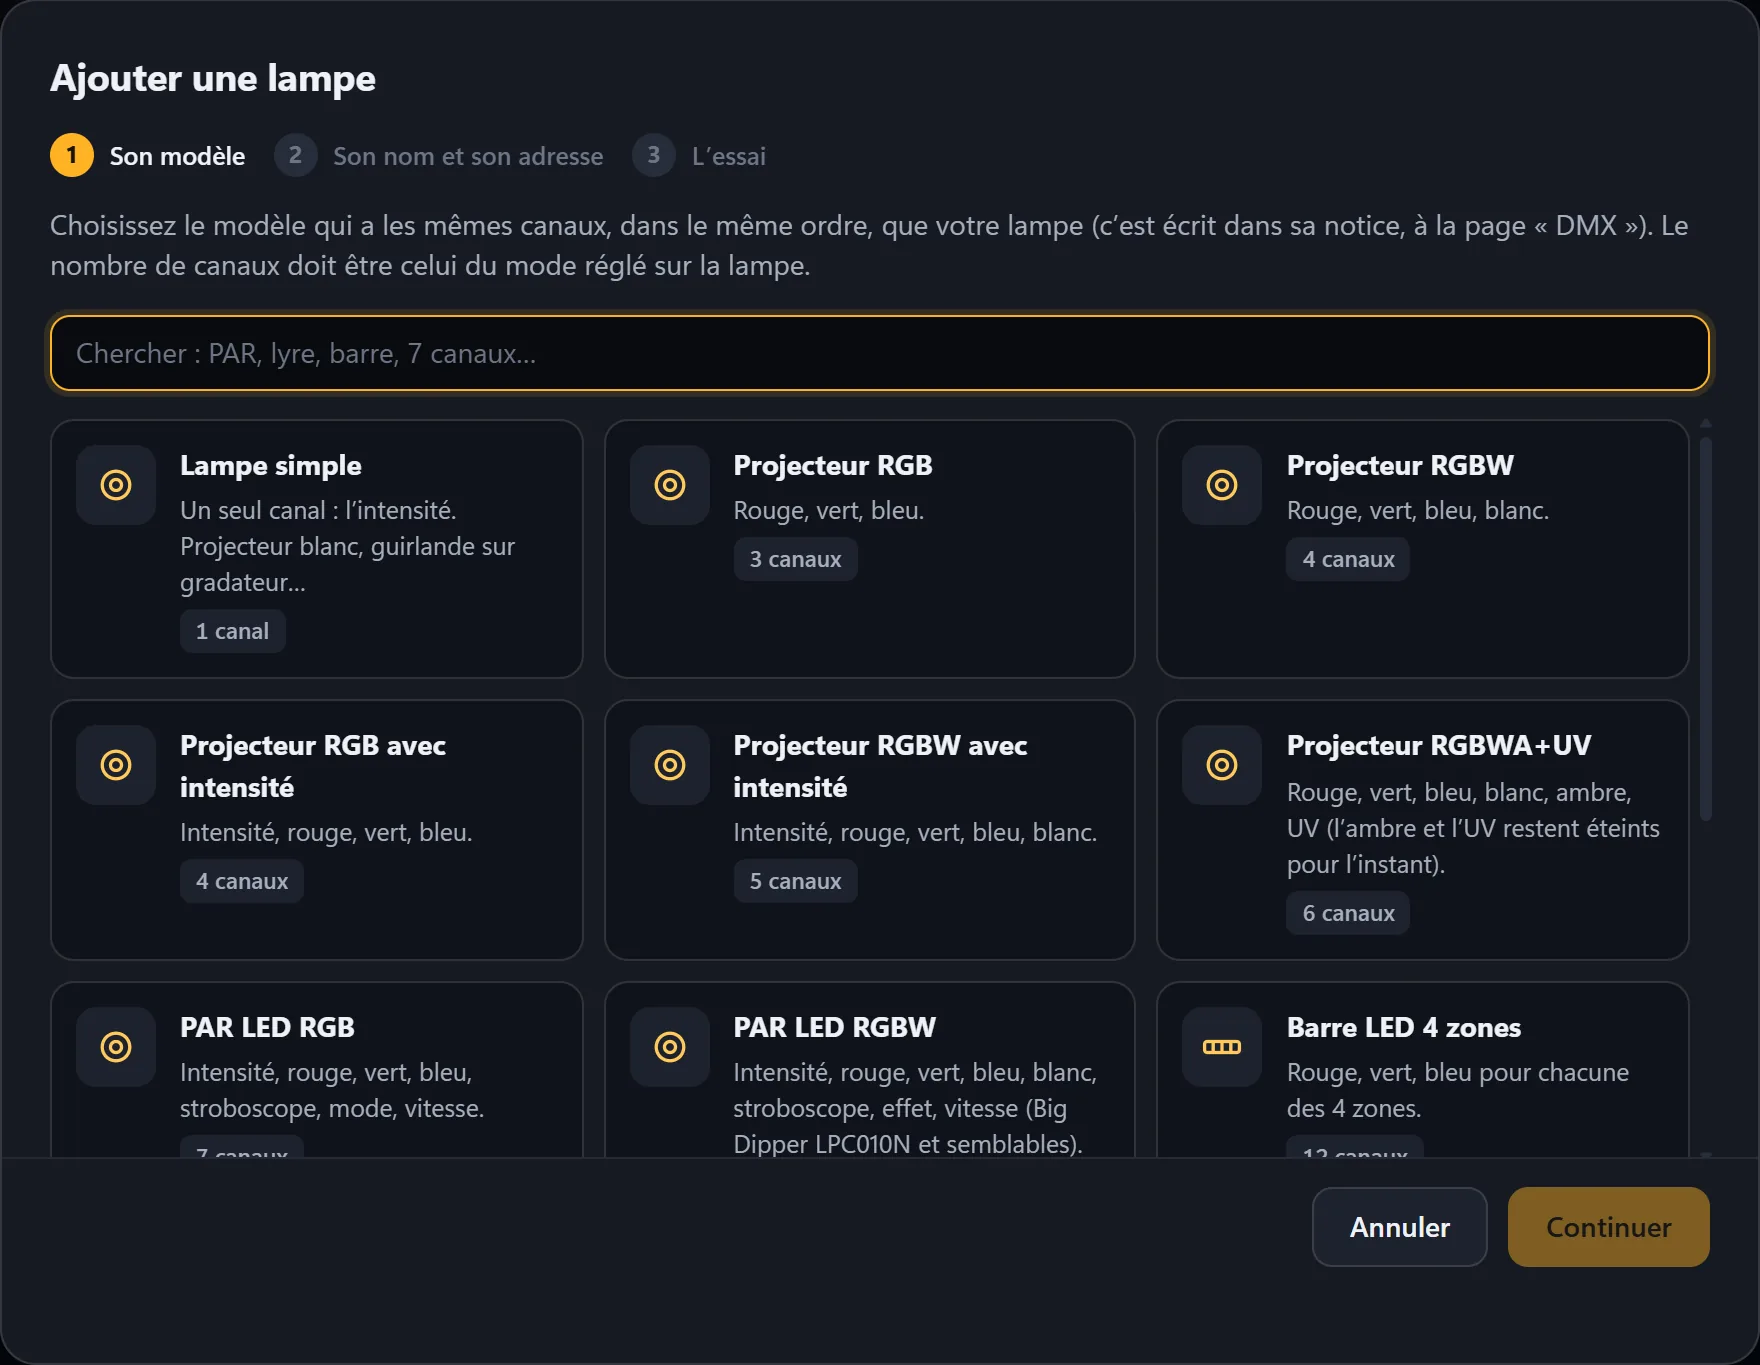
The included profiles. At the very bottom of the list, “My light isn’t in the list” opens profile creation. -
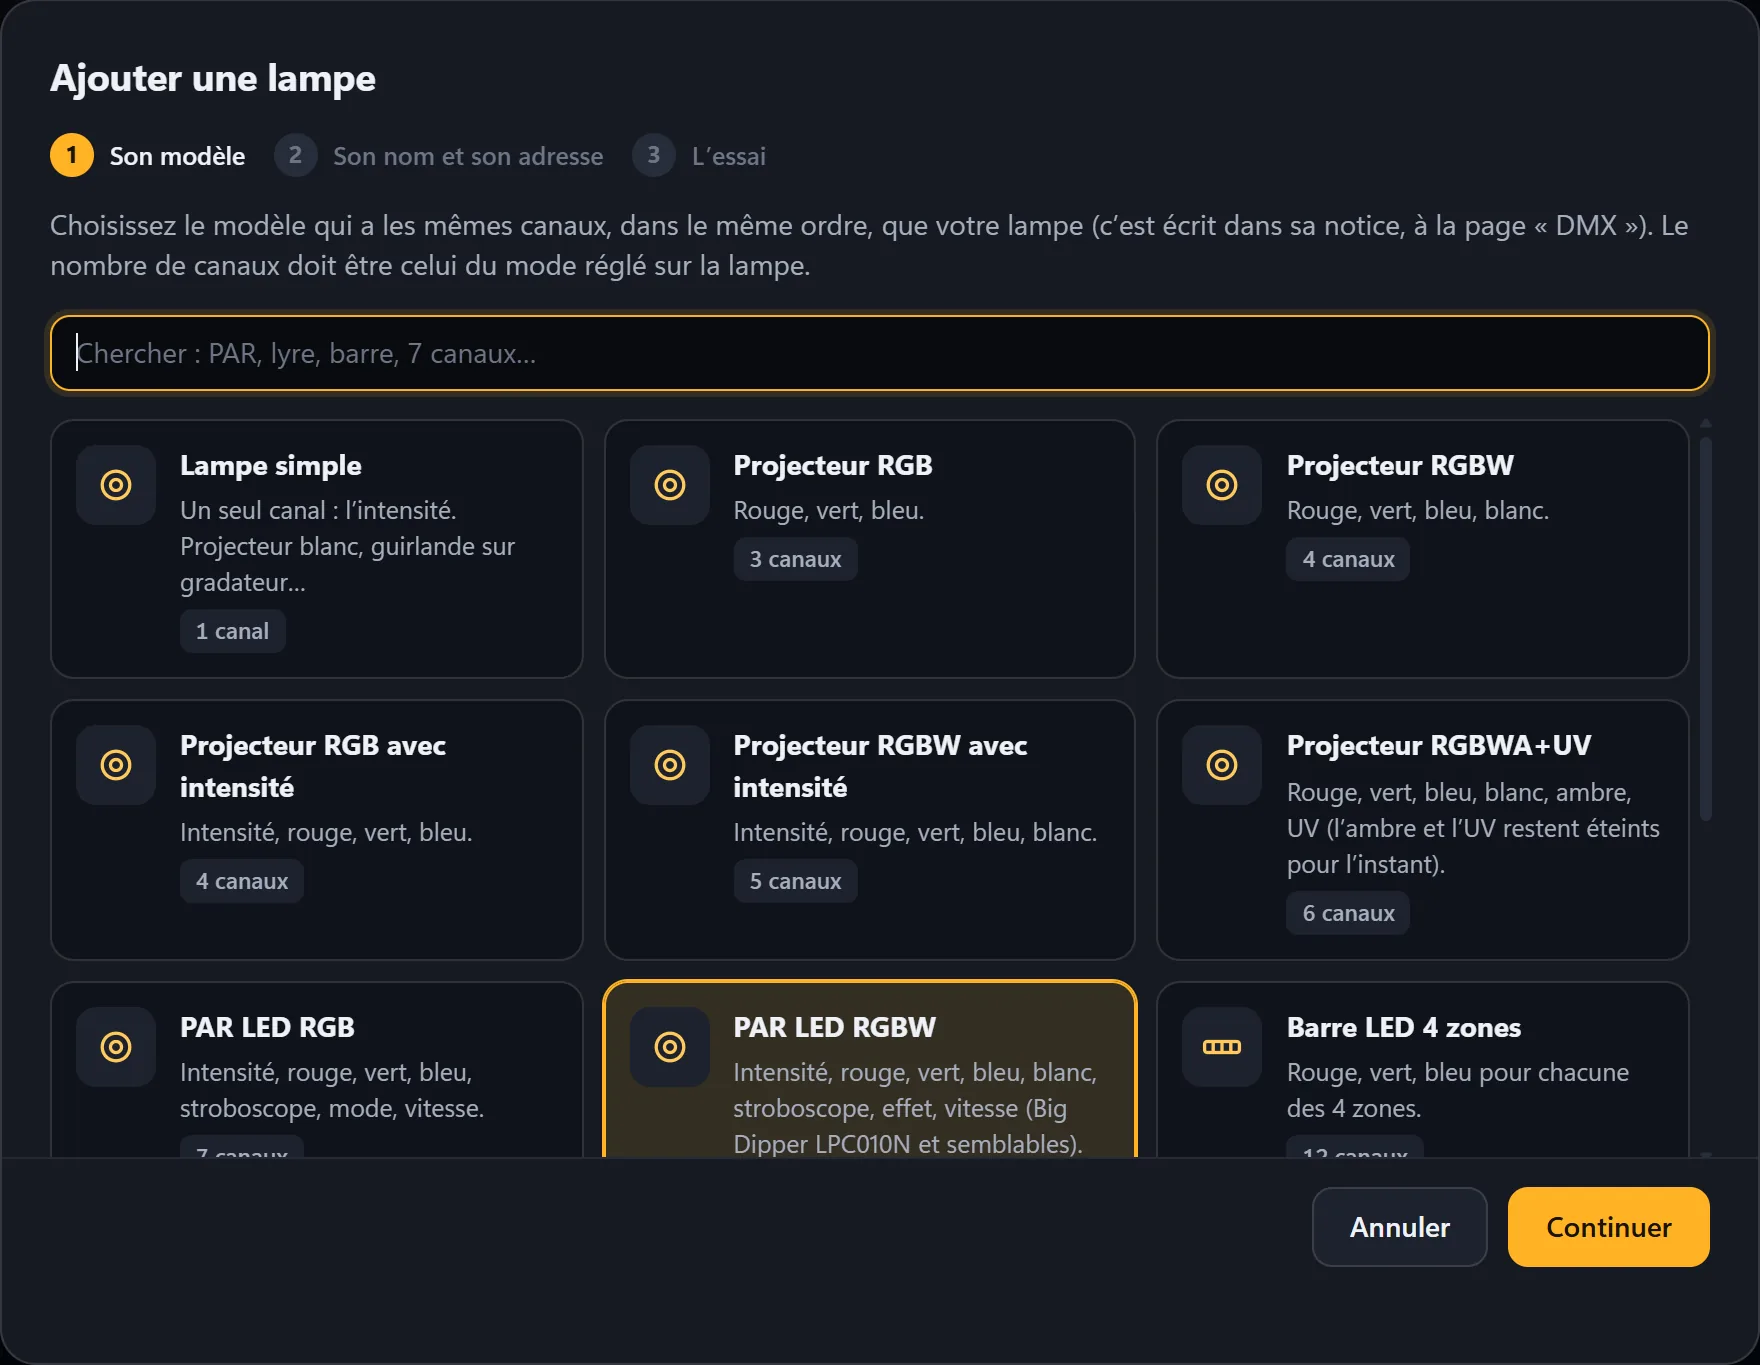
Click the profile, then Continue
The chosen profile gets an amber outline. Click Continue.
-
Its name and address
Give it the name you use for it in the room (“PAR left”). Lumières suggests the first available address and tells you which channels it will take. Set the same address on the light, then click Add the light.
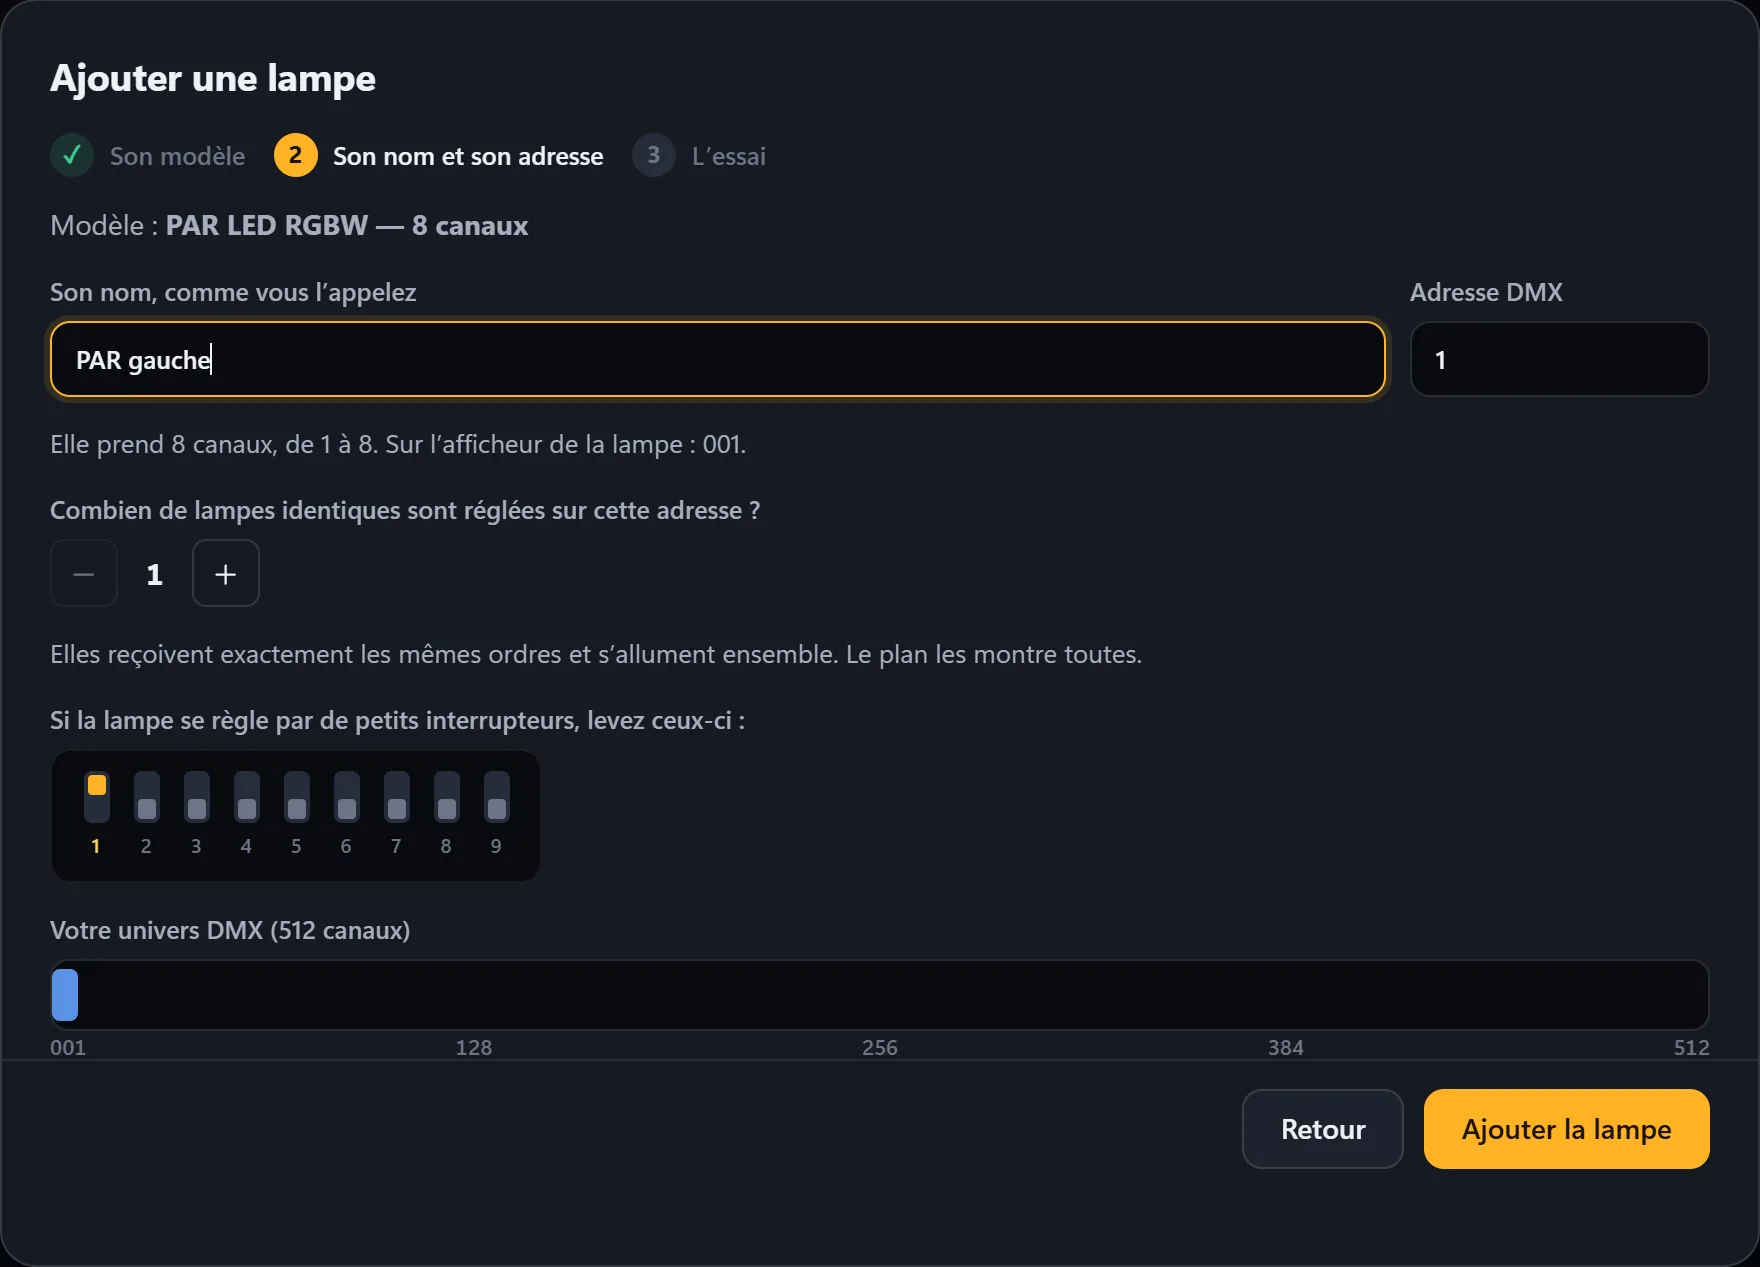
Address 1: the light takes channels 001 to 008. At the bottom, the space it takes among the 512 channels. -
If the light has DIP switches
Many lights are set with small DIP switches numbered 1 to 9 (or 10). The screen shows which ones to flip up, in amber: for address 33, switches 1 and 6.
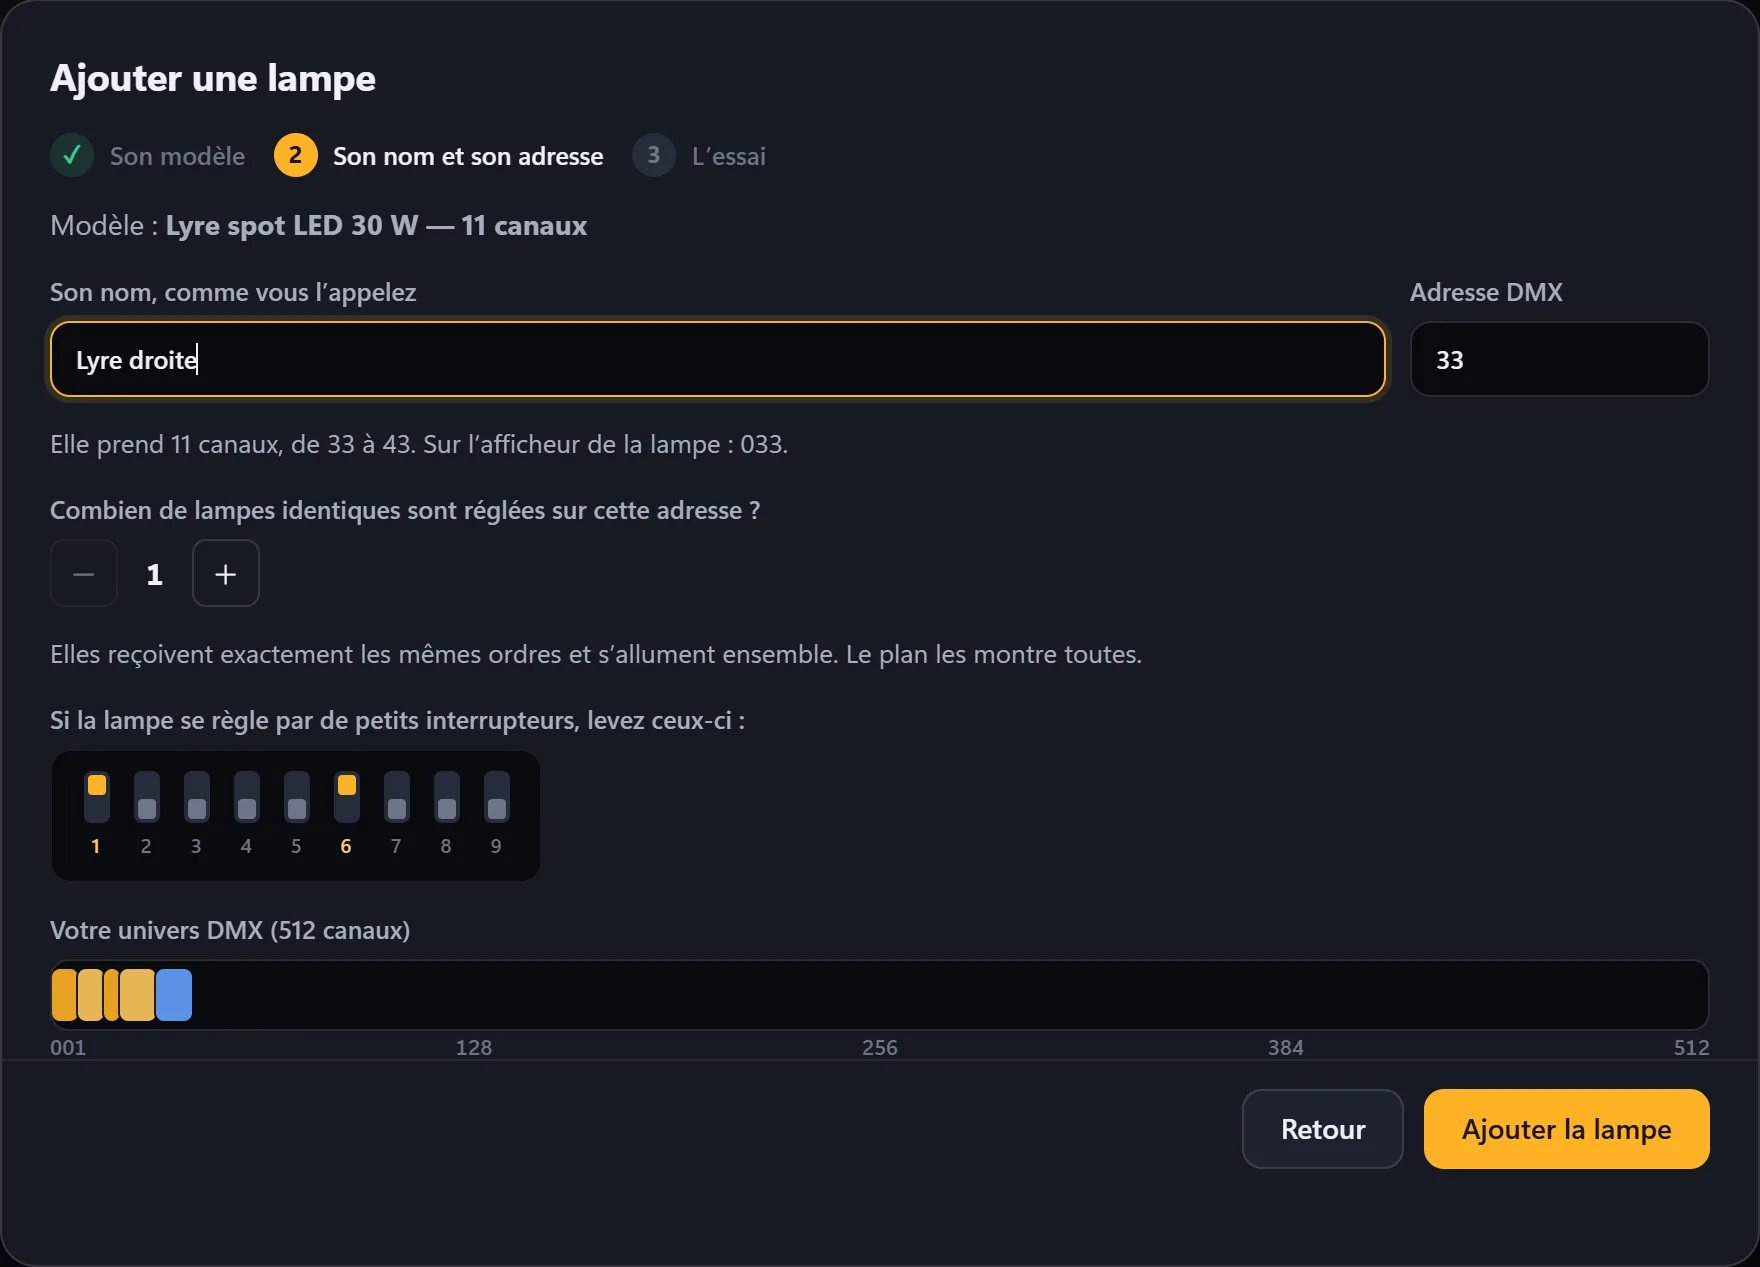
A moving head at address 33: flip up DIP switches 1 and 6. The strip shows the lights already placed, and the one being added in blue. -
Identical lights on the same address
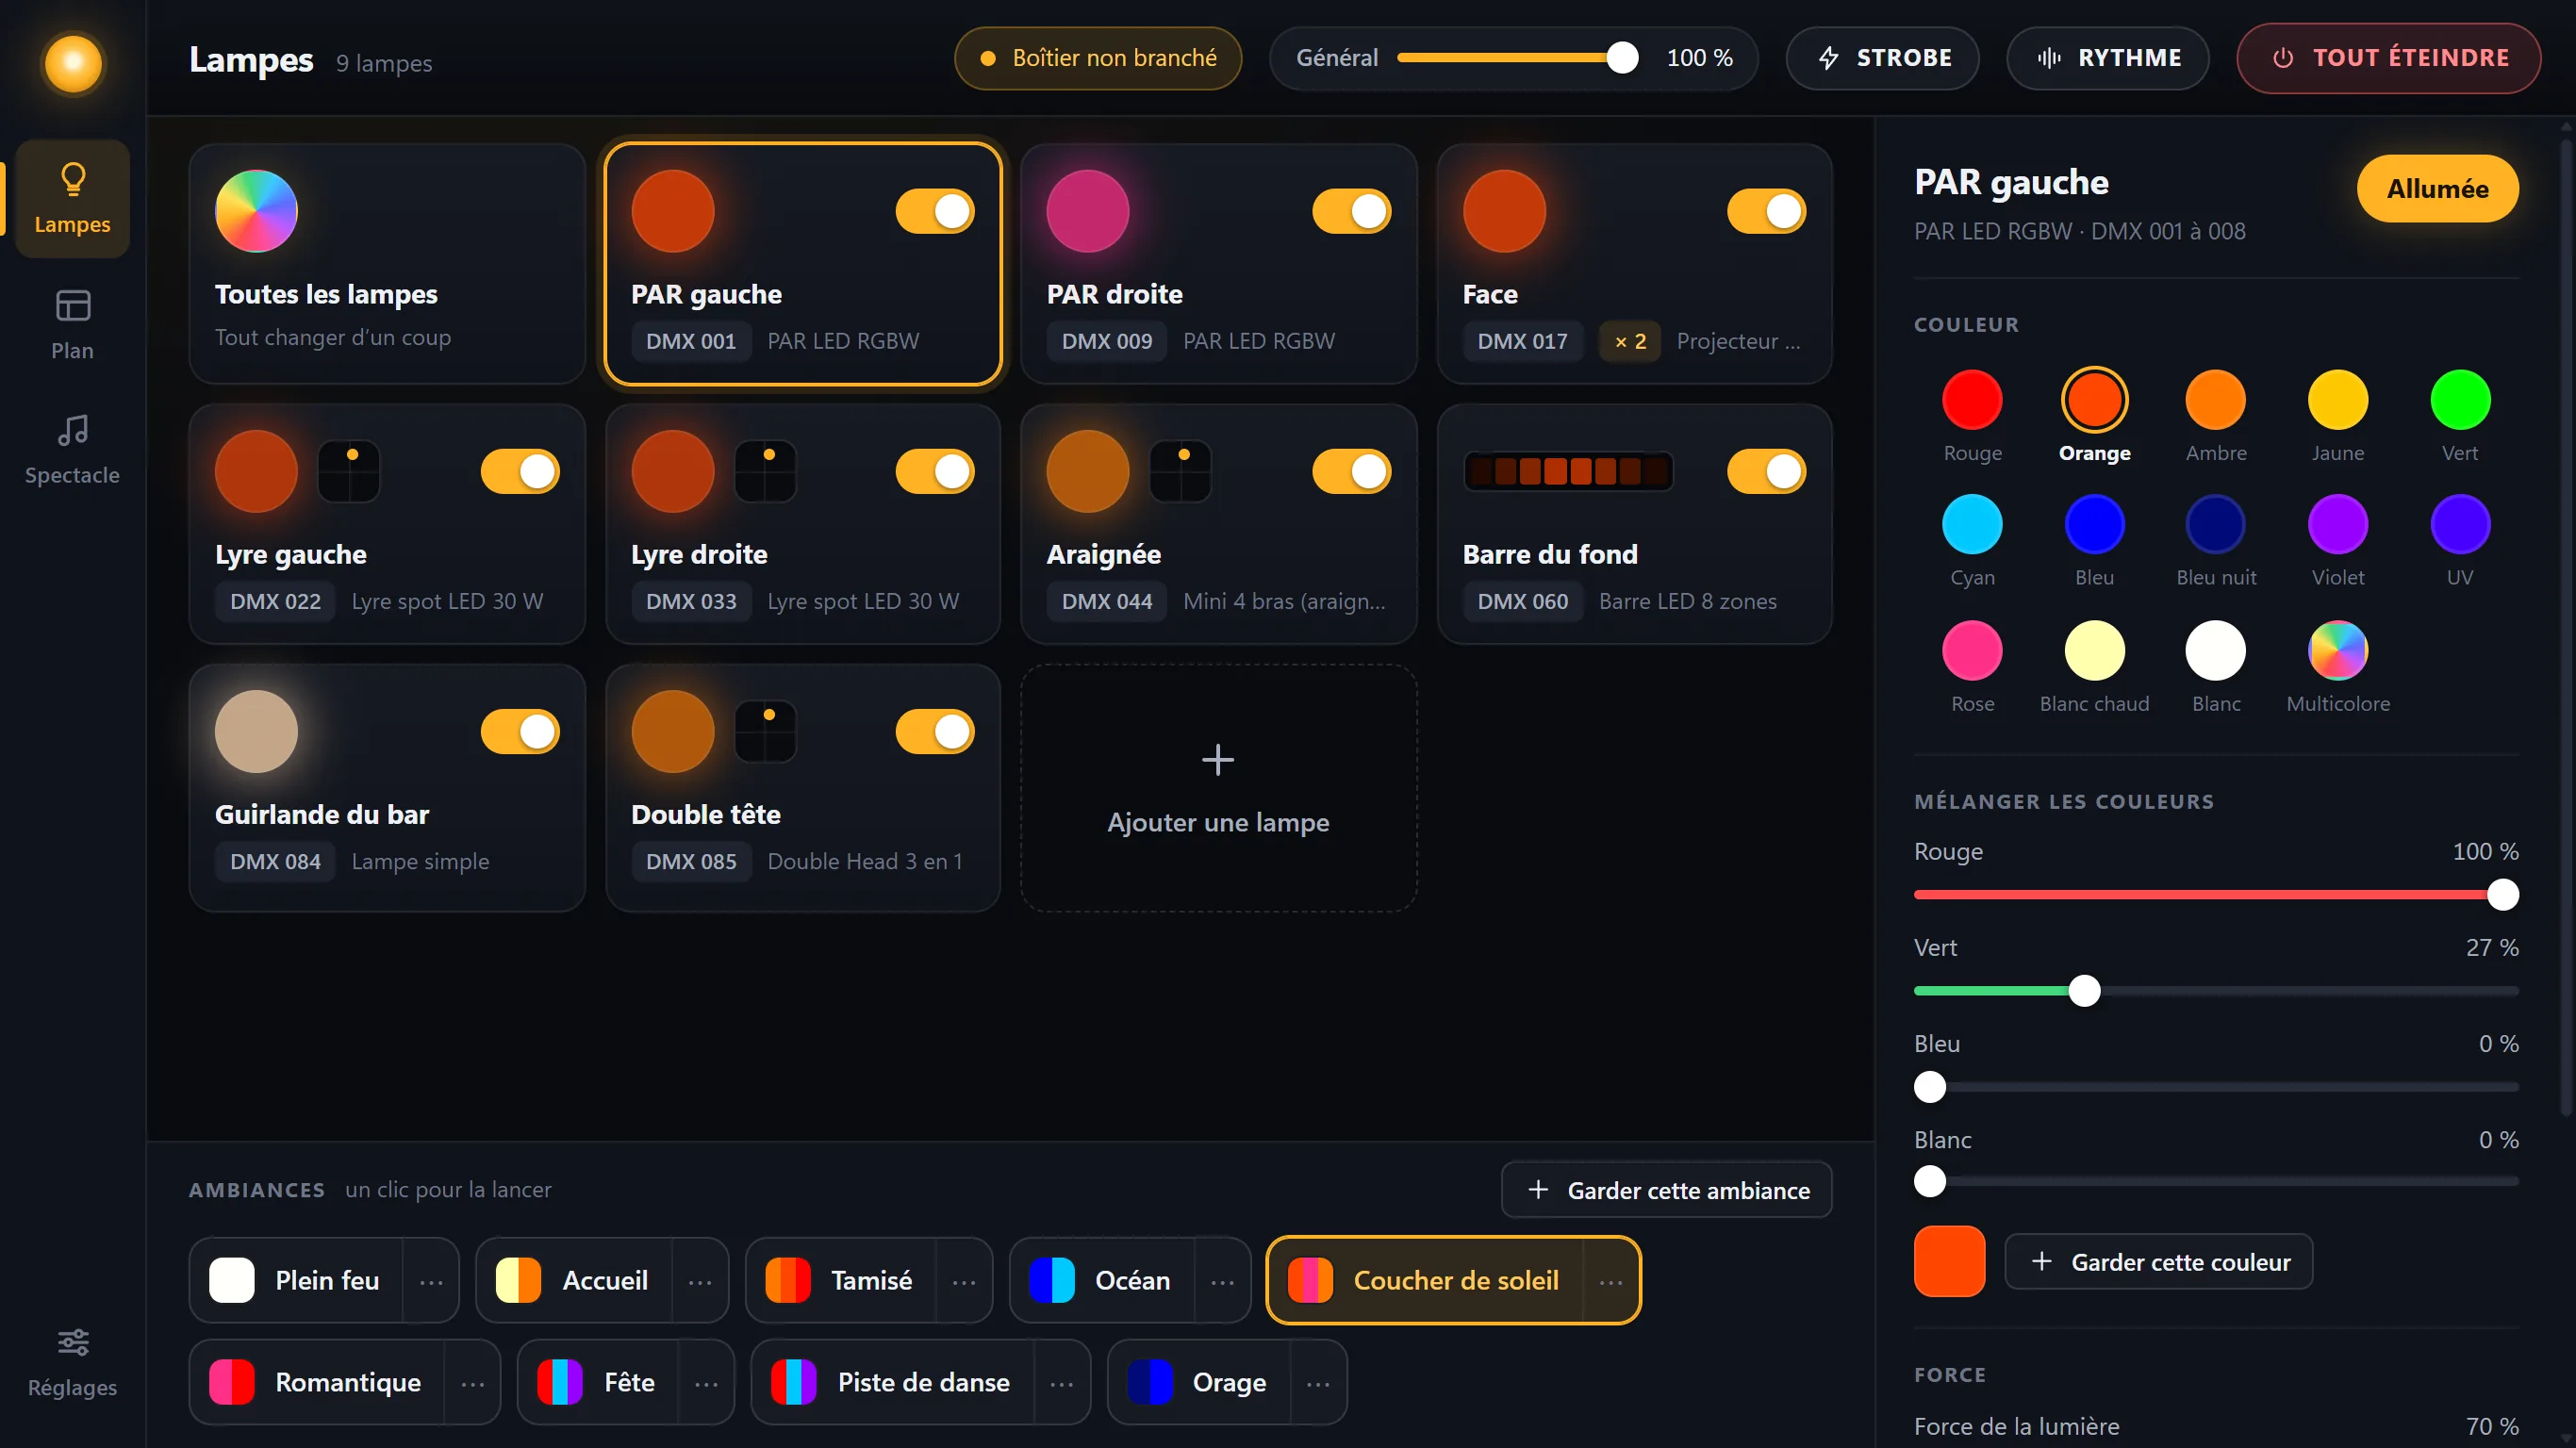
Two identical spotlights set to the same address light up together: add them only once, and say how many there are at How many identical lights are set to this address?, up to 16. Their card then shows “× 2”, and the layout draws them all.
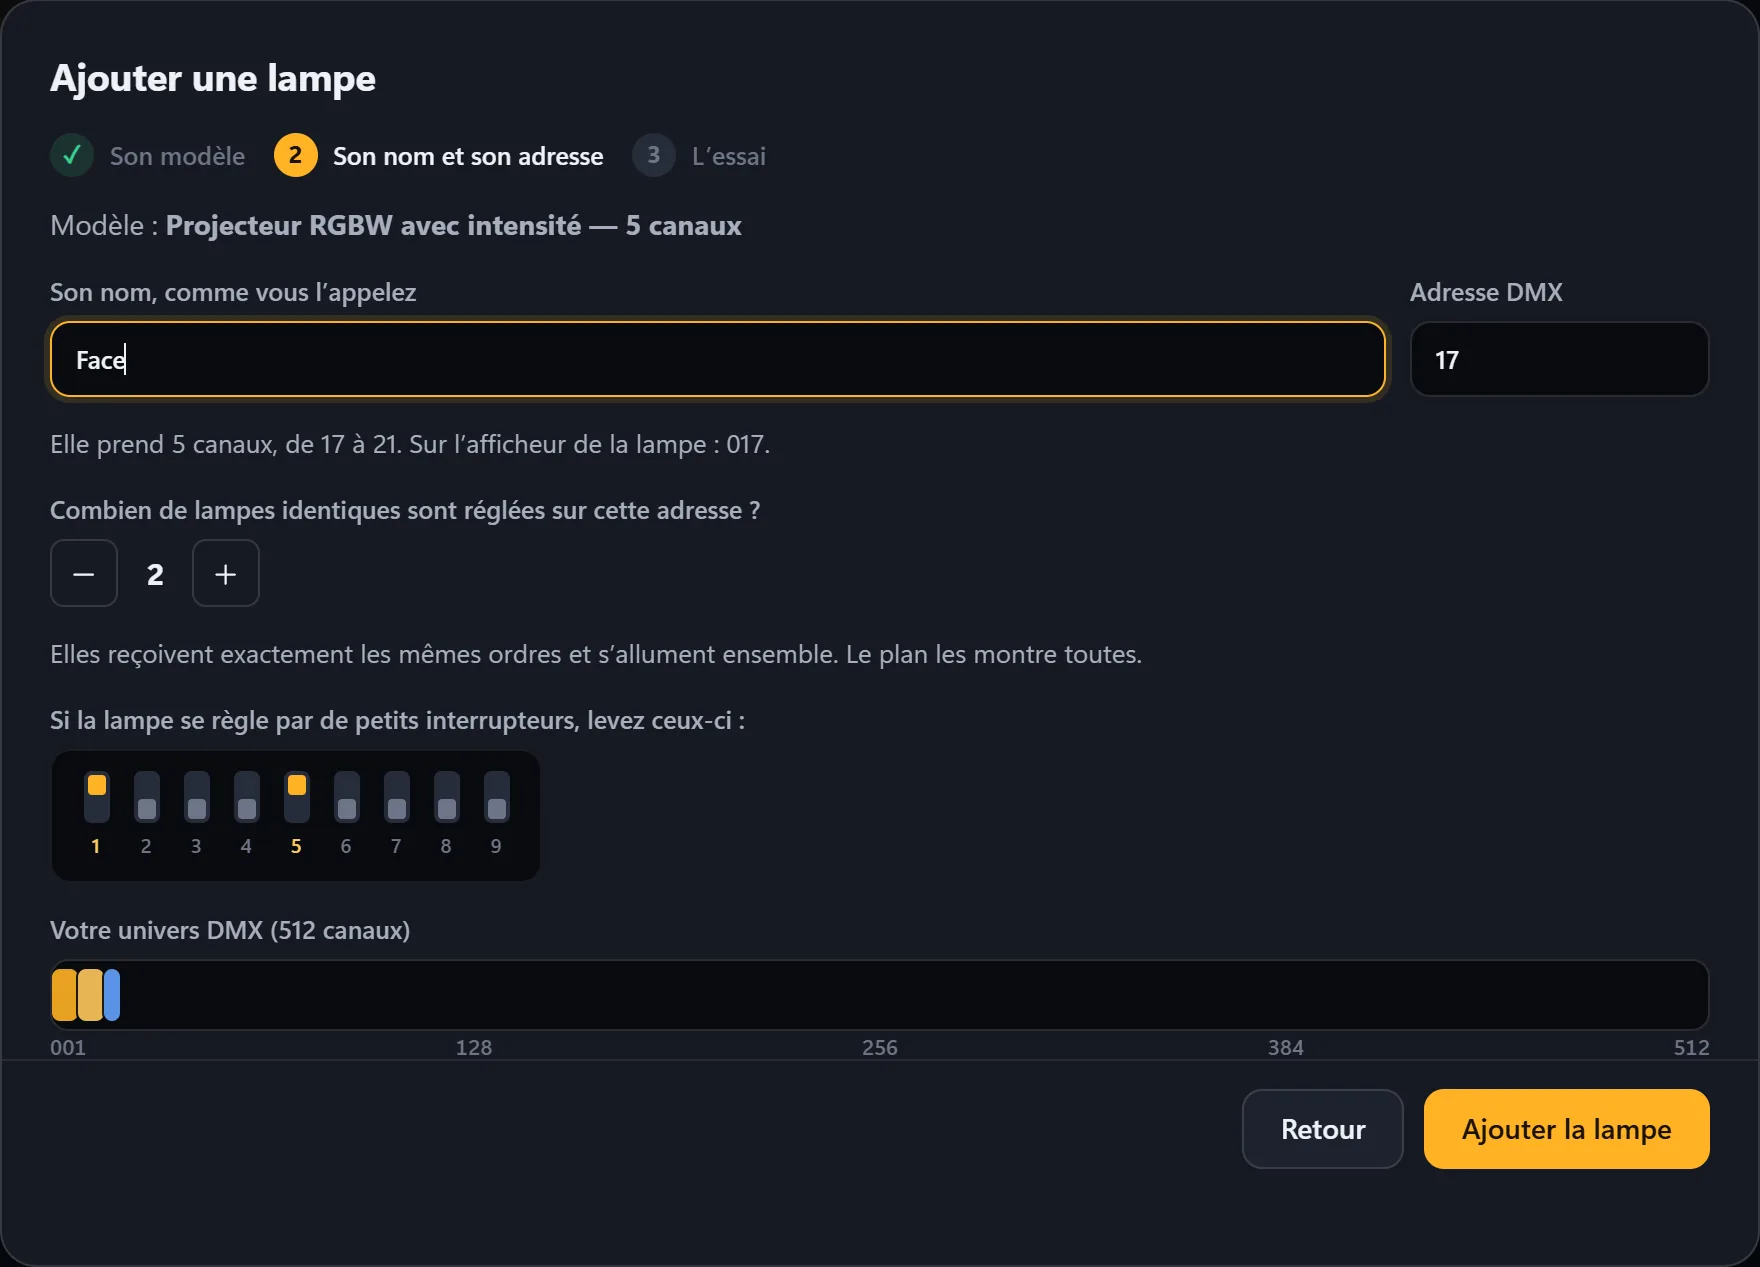
-
The test
The light blinks white for a few seconds: if it’s the right one, you’re all set. Click Add another light, or Done.
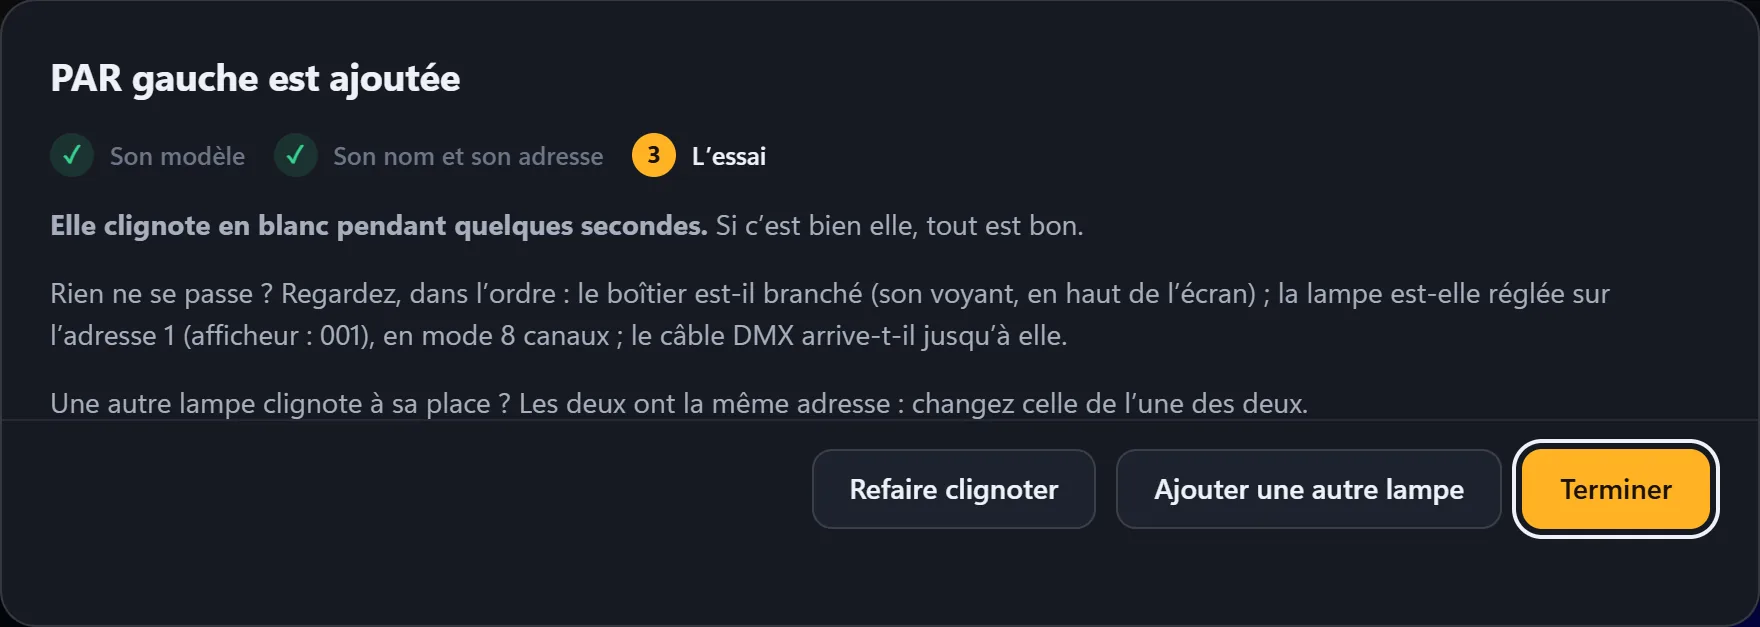
Check, in this order: is the interface connected (its indicator, at the top of the screen); is the light set to the right address, in the right mode; does the cable reach it. Another light blinks instead? Both have the same address: change the address of one of them, unless they are identical lights you want to turn on together (the previous step).
The starter scenes
-
Create the scenes
Once your lights are added, click Create scenes for my lights, at the bottom of the Lights screen.
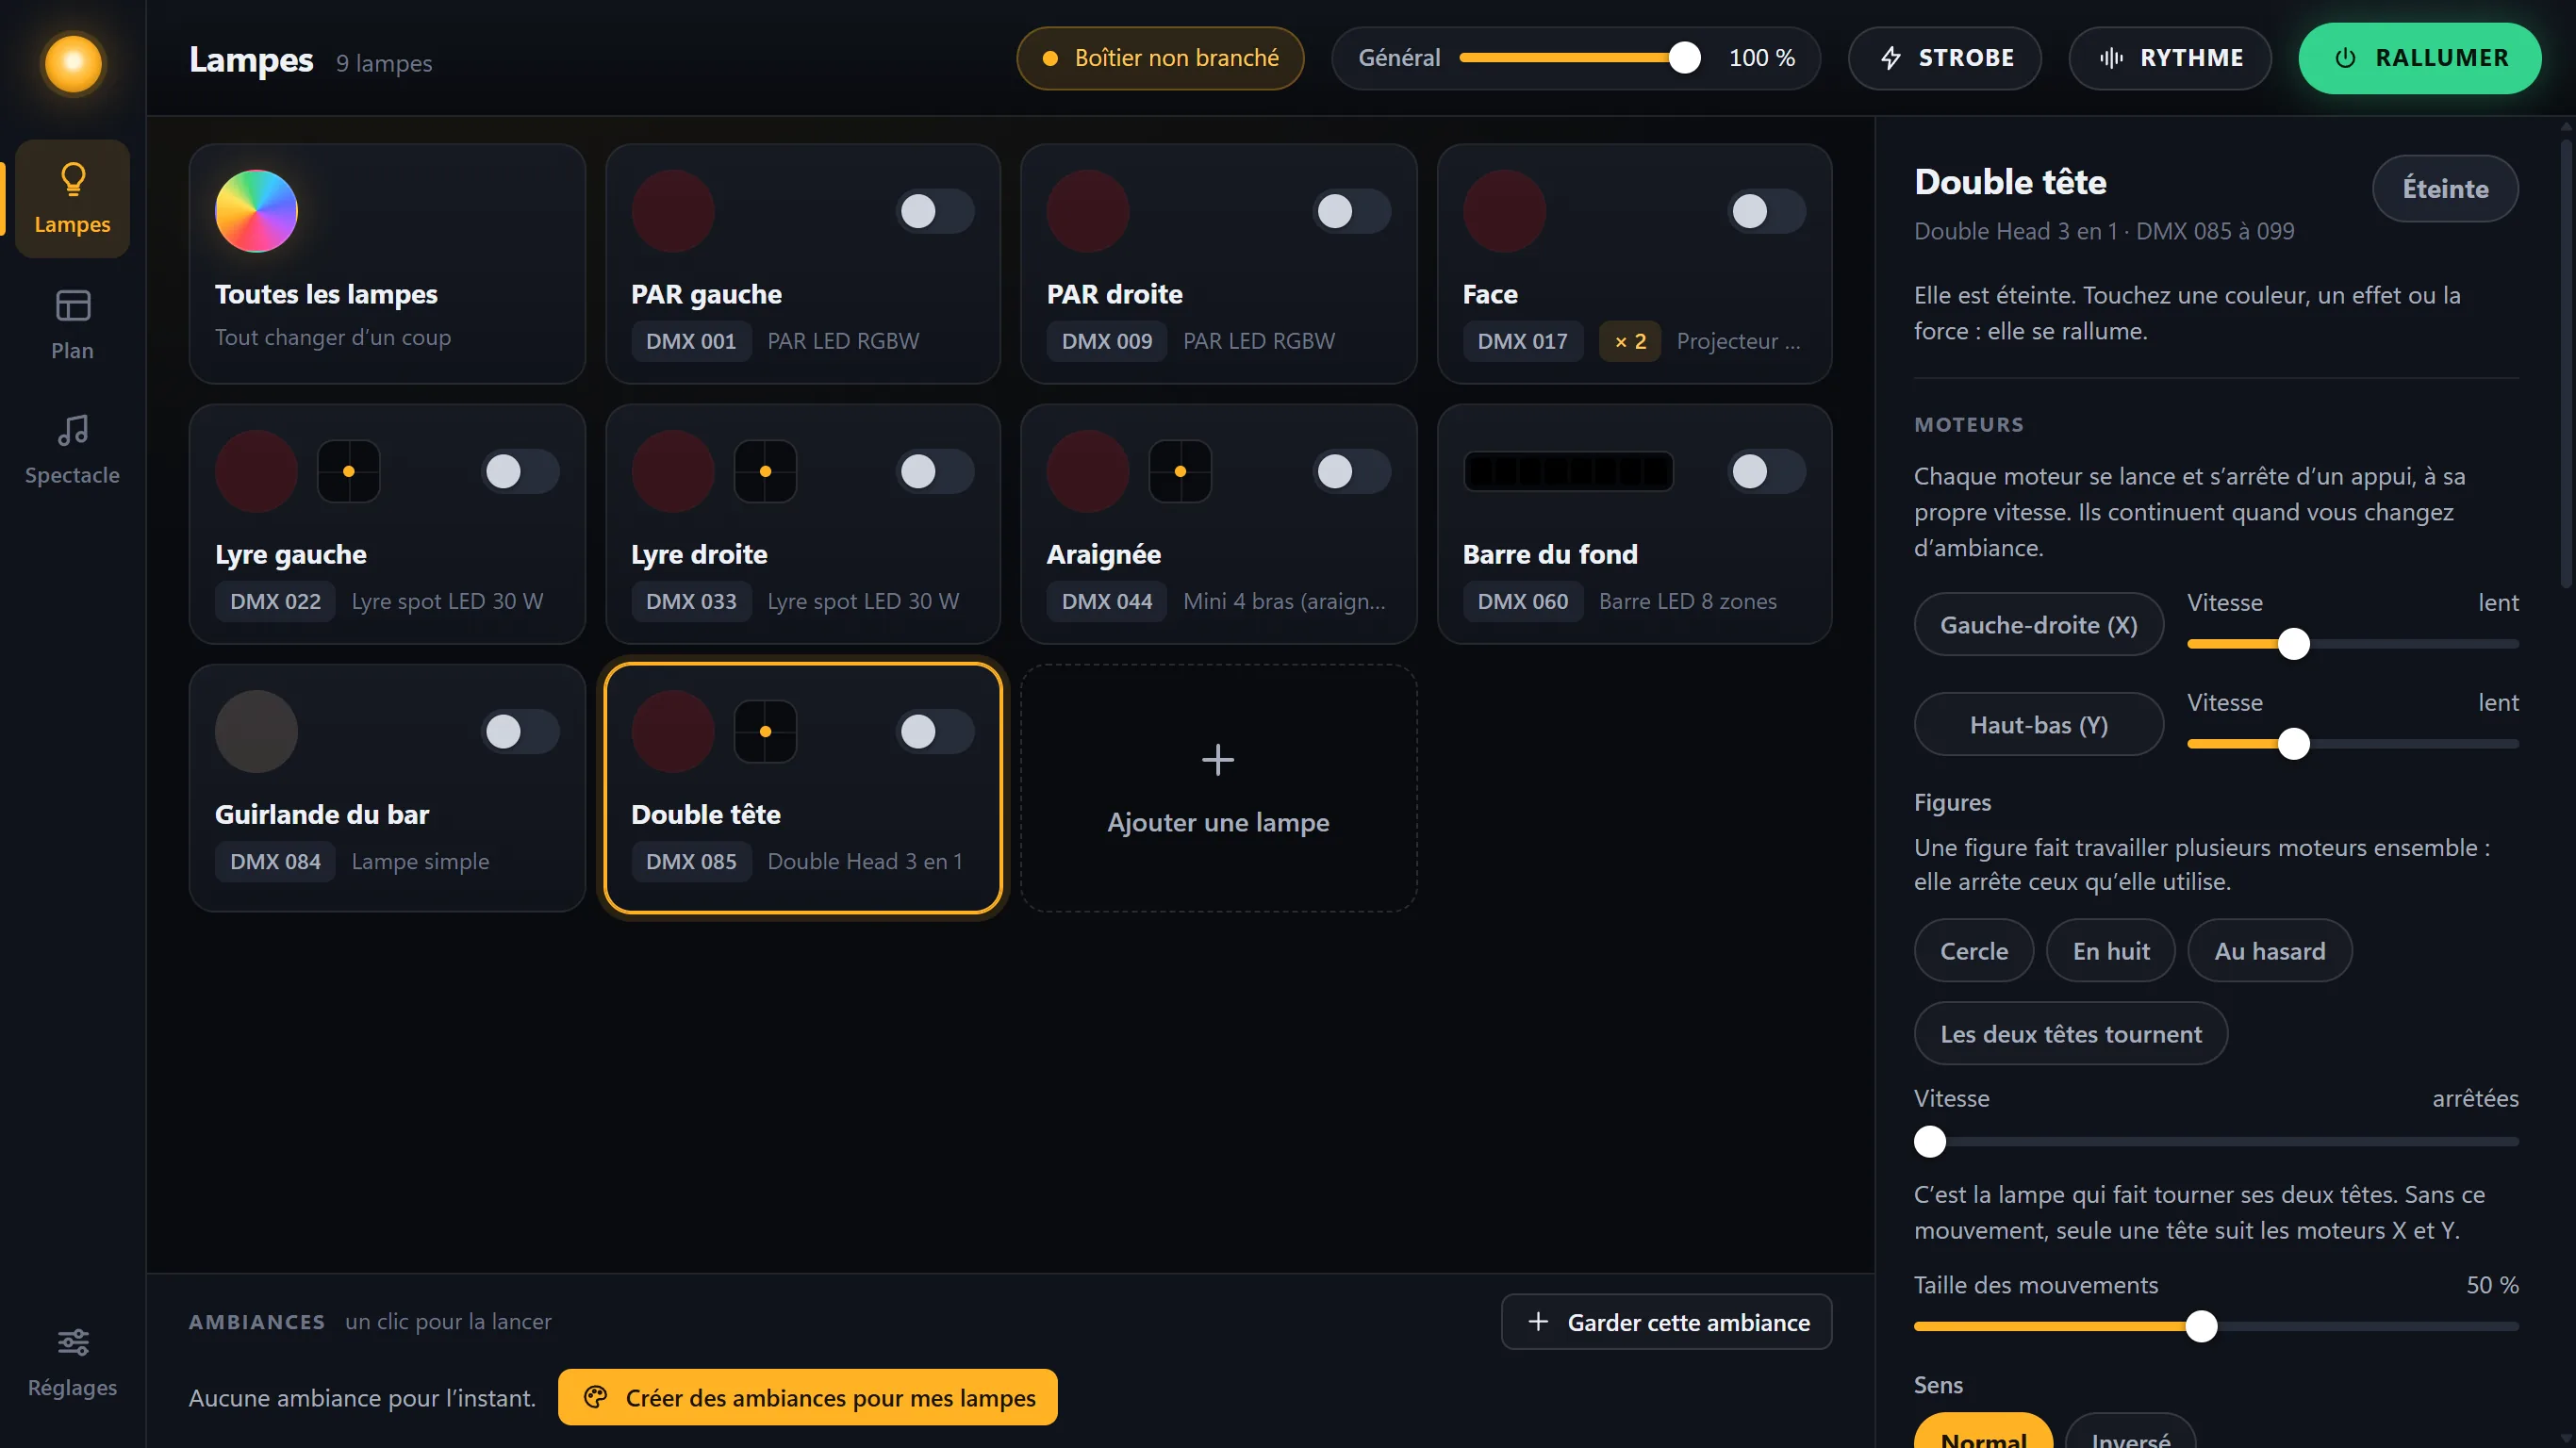
-
Nine scenes made for your lights
Lumières knows which of your lights are fixed, which ones move and which ones are bars: it builds nine scenes for them. Click one, and the room moves into it smoothly.
Next: adjust a light, then save your own scenes.